Beranda
/ Diy Crown Molding On Kitchen Cabinets : Diy Crown Molding On Kitchen Cabinets Hometalk : Measure along cabinet sides and around walls to get the length of each piece.
Diy Crown Molding On Kitchen Cabinets : Diy Crown Molding On Kitchen Cabinets Hometalk : Measure along cabinet sides and around walls to get the length of each piece.
Insurance Gas/Electricity Loans Mortgage Attorney Lawyer Donate Conference Call Degree Credit Treatment Software Classes Recovery Trading Rehab Hosting Transfer Cord Blood Claim compensation mesothelioma mesothelioma attorney Houston car accident lawyer moreno valley can you sue a doctor for wrong diagnosis doctorate in security top online doctoral programs in business educational leadership doctoral programs online car accident doctor atlanta car accident doctor atlanta accident attorney rancho Cucamonga truck accident attorney san Antonio ONLINE BUSINESS DEGREE PROGRAMS ACCREDITED online accredited psychology degree masters degree in human resources online public administration masters degree online bitcoin merchant account bitcoin merchant services compare car insurance auto insurance troy mi seo explanation digital marketing degree floridaseo company fitness showrooms stamfordct how to work more efficiently seowordpress tips meaning of seo what is an seo what does an seo do what seo stands for best seotips google seo advice seo steps, The secure cloud-based platform for smart service delivery. Safelink is used by legal, professional and financial services to protect sensitive information, accelerate business processes and increase productivity. Use Safelink to collaborate securely with clients, colleagues and external parties. Safelink has a menu of workspace types with advanced features for dispute resolution, running deals and customised client portal creation. All data is encrypted (at rest and in transit and you retain your own encryption keys. Our titan security framework ensures your data is secure and you even have the option to choose your own data location from Channel Islands, London (UK), Dublin (EU), Australia.
Diy Crown Molding On Kitchen Cabinets : Diy Crown Molding On Kitchen Cabinets Hometalk : Measure along cabinet sides and around walls to get the length of each piece.. If the cabinets are far enough away from the ceiling for top access, i rip some glue. Provide a nailing surface for crown moulding by attaching solid wood mounting strips to the top edges of the cabinets. And that can make installing crown molding super frustrating. Pendant light, sconce, drawer pulls, cabinet latch, faucet, paneling, flat crown, paint color the shadow line. Crown molding can be tricky if you move too fast.
Crown molding can be tricky if you move too fast. In this video we will go over some tips and tricks that might help whe. Crown molding added along the top of the cabinets is an inexpensive diy project that will add to your home's resale value as well as its overall interior appeal. This image shows how the cove molding sits against the 1×2's Since there is no top edge to secure the crown to, to help support the crown and keep it straight i cut angled supports and glued them in place.
A Guide To Crown Molding For Kitchen Cabinets Mimosa Kitchen Bath from mimosakitchenandbath.com Check out our video review and demo of adding crown molding to your kitchen cabinets. Use a miter box and hand saw to cut the molding to size. Not only do you have to be aware of an inside corner, outside corner, right board, or left board, you also have to magically hold the crown molding up against your miter saw fence at just the right angle or else your corners will never fit together. Make rabbet cuts on the filler pieces so that the piece fits tightly on the top of the cabinet and over the door of the cabinet. Now that you have the baseboards installed it's time to work on installing the crown molding. (use one long strip for a row of cabinets the same depth.) then apply wood glue to each strip, nail it in place, and let dry. Cut and install the molding. I then added cove molding underneath, the cove molding is the only piece that needs to be mitered.
There is also wood molding that poses its own drawbacks.
Measure along cabinet sides and around walls to get the length of each piece. To stack the molding we used baseboard molding turned upside down. I then added cove molding underneath, the cove molding is the only piece that needs to be mitered. Once the cuts are all made, spray paint the filler pieces to. Old houses are notorious for having uneven ceilings. Kitchen diy // crown molding on a soffit. (use one long strip for a row of cabinets the same depth.) then apply wood glue to each strip, nail it in place, and let dry. See more ideas about crown molding kitchen, moldings and trim, crown moulding kitchen cabinets. Make rabbet cuts on the filler pieces so that the piece fits tightly on the top of the cabinet and over the door of the cabinet. Place the crown molding at the top of the riser so it touches the ceiling and nail it in place to the riser (image 2). These will be the filler pieces. Recreate the minimalist look by adding an intricate back bend at the bottom of the crown molding's flat casing to blend with the top of kitchen cabinetry. This image shows how the cove molding sits against the 1×2's
Cut crown molding for front of cabinet measure the length of the front piece of baseboard. Kitchen diy // crown molding on a soffit. 10 interesting kitchen cabinet crown molding ideas to make sure that you might not need to seek any more. I then added cove molding underneath, the cove molding is the only piece that needs to be mitered. These will be the filler pieces.
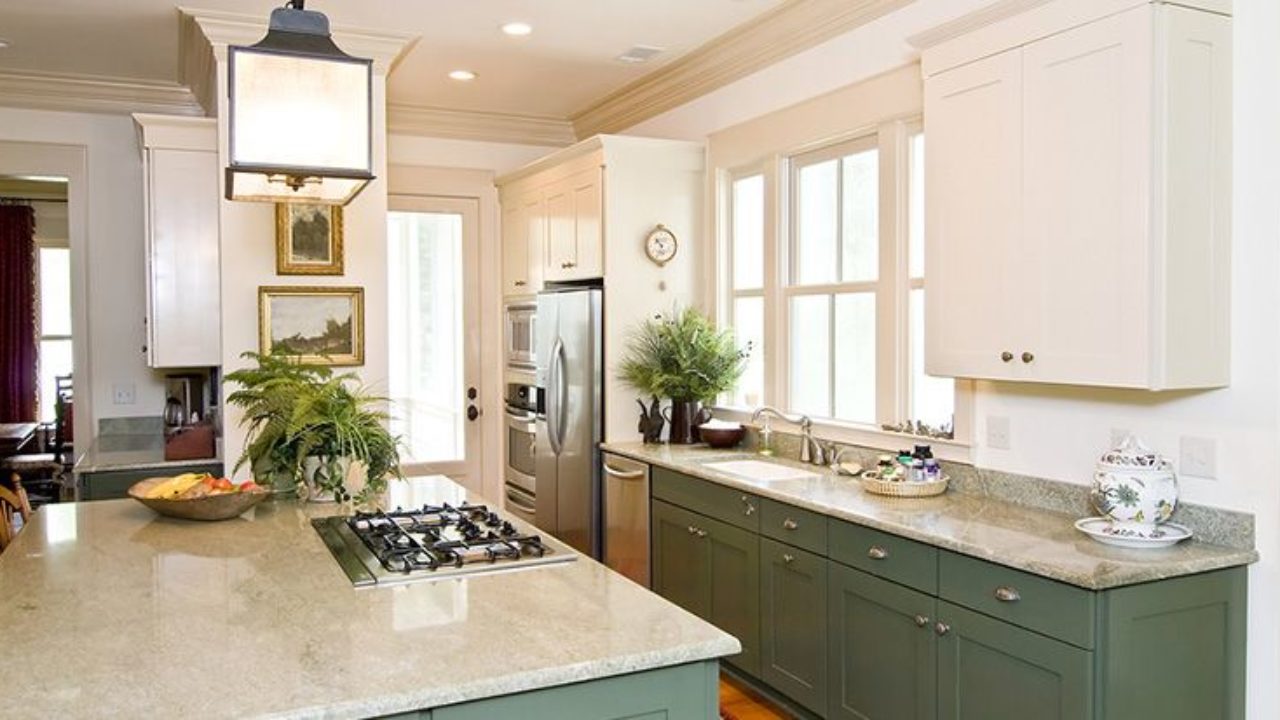
Mostly Diy Kitchen Cabinet Transformation The Process Beautiful Branches from beautifulbranches.files.wordpress.com Cuts are made while crown molding is upside down. Test the fit around each corner first before installing. Place the crown molding at the top of the riser so it touches the ceiling and nail it in place to the riser (image 2). Cut strips of the 5/4 pine to length and width, based on the size of the cabinets. The molding creates the feel of a higher ceiling and gives the impression of a more expansive kitchen. Crown molding added along the top of the cabinets is an inexpensive diy project that will add to your home's resale value as well as its overall interior appeal. If the cabinets are far enough away from the ceiling for top access, i rip some glue. Paint or stain to your preference.
The molding creates the feel of a higher ceiling and gives the impression of a more expansive kitchen.
Cut strips of the 5/4 pine to length and width, based on the size of the cabinets. See more ideas about crown molding kitchen, moldings and trim, crown moulding kitchen cabinets. There is also wood molding that poses its own drawbacks. Cut and install the molding. With crown molding it seems like there are 10 considerations to make for every single cut. Nothing is perfectly level and nothing is perfectly square. Cut crown molding for front of cabinet measure the length of the front piece of baseboard. Recreate the minimalist look by adding an intricate back bend at the bottom of the crown molding's flat casing to blend with the top of kitchen cabinetry. Steps for hanging crown molding: Enter the shadow line.holding the crown down below the ceiling a bit (around 1/2) allows you to. Not only do you have to be aware of an inside corner, outside corner, right board, or left board, you also have to magically hold the crown molding up against your miter saw fence at just the right angle or else your corners will never fit together. Crown molding can be tricky if you move too fast. And that can make installing crown molding super frustrating.
See more ideas about home remodeling, moldings and trim, home diy. Then nailed that into the cabinet and the 1×4 ledge we added for support. Place the crown molding at the top of the riser so it touches the ceiling and nail it in place to the riser (image 2). In this video we will go over some tips and tricks that might help whe. Cut and install the molding.
Install Crown Molding On Kitchen Cabinets How Tos Diy from diy.sndimg.com To stack the molding we used baseboard molding turned upside down. The front door handle was replaced, all the interior doors were painted black, the front and back doors were. Recreate the minimalist look by adding an intricate back bend at the bottom of the crown molding's flat casing to blend with the top of kitchen cabinetry. With crown molding it seems like there are 10 considerations to make for every single cut. Attach crown molding run a bead of glue along each piece of molding (image 1). Crown molding added along the top of the cabinets is an inexpensive diy project that will add to your home's resale value as well as its overall interior appeal. See more ideas about kitchen remodel, kitchen redo, new kitchen. Then nailed that into the cabinet and the 1×4 ledge we added for support.
See more ideas about crown molding kitchen, moldings and trim, crown moulding kitchen cabinets.
With crown molding it seems like there are 10 considerations to make for every single cut. A few tips for installing large crown molding on rta kitchen cabinets.rta cabinets from lily ann cabinets ( www.lilyanncabinets.com ) Since there is no top edge to secure the crown to, to help support the crown and keep it straight i cut angled supports and glued them in place. Old houses are notorious for having uneven ceilings. See more ideas about kitchen cabinet crown molding, crown molding, cabinet molding. Attach crown molding run a bead of glue along each piece of molding (image 1). Diy crown molding on kitchen cabinets. The front door handle was replaced, all the interior doors were painted black, the front and back doors were. Once the cuts are all made, spray paint the filler pieces to. About press copyright contact us creators advertise developers terms privacy policy & safety how youtube works test new features press copyright contact us creators. Paint or stain to your preference. Cut crown molding for front of cabinet measure the length of the front piece of baseboard. Crown molding added along the top of the cabinets is an inexpensive diy project that will add to your home's resale value as well as its overall interior appeal.